This is an old revision of the document!
Table of Contents
Installation of ADCI Software
ADCI software is released in a binary installation package file. The latest release is version 1.11. The installation file is named ADCI_Setup1.11.r_x64.exe (ADCI_Setup1.11.r_x86.exe if you requested a 32-bit version of ADCI). You can find this file in the USB flash drive shipped by Cytognomix.
System Requirements
| Operating Systems | Processors | Disk Space | RAM | Video Card |
|---|---|---|---|---|
| Microsoft Windows 7, Windows 8.1, Windows 10. | Any Intel or AMD x86-64 processors. Other processors untested. | Less than 120 MB for ADCIDE only, Less than 350 MB for a typical installation including log viewer and examples. A full installation of ADCIDE Demo requires about 1 GB due to demo data. | RAM no less than 1 GB is recommended but not required | No requirement if GPU acceleration is not desired, otherwise a NVIDIA video card with CUDA support |
Installing ADCI
Double click ADCI_Setup1.11.r_x64.exe or ADCI_Setup1.11.r_x86.exe to start the installation and follow the wizard to complete the installation.
In the page 'Installation Folder', please specify where ADCI will be installed. This folder is for executable files and configuration files only. The default folder is 'C:\Program Files\Cytognomix\ADCIDE' for x64, or 'C:\Program Files (x86)\Cytognomix\ADCIDE' for x86.
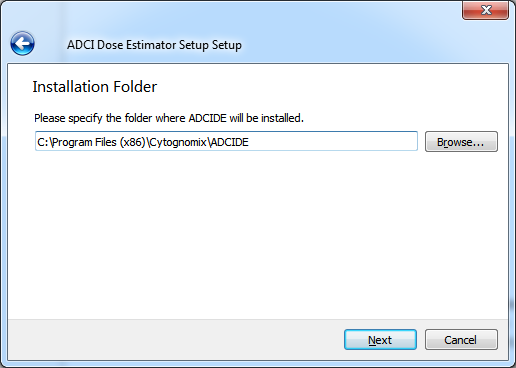
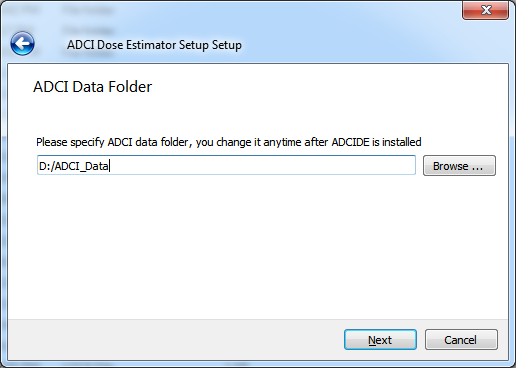
In the 'ADCI Data Folder' page, please specify a writable folder where ADCI data will be saved. Contour files, log files and other files generated by ADCI will saved in the data folder. This folder is also the default location when users are saving samples, curves and etc.
The specified data folder can be changed after ADCI is installed. To do that, go to 'ADCI installation folder/Configuration' and open the batch_setting.xml in a text file editor. Change the content of <datadirectory> to the new data folder. Administrator permission may be required. If the data folder is changed in this way, ADCI will not be able to find chromosome contours for previously processed images unless content in the old data folder is copied to the new one.
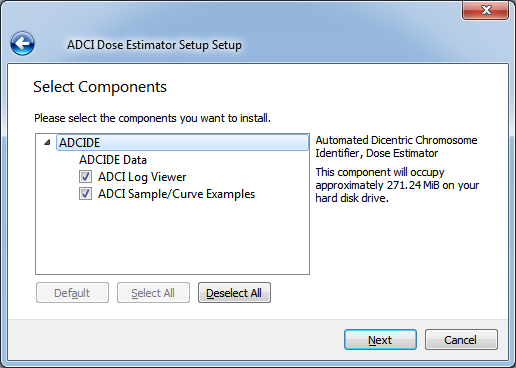
In the 'Select Components' page, users can select which components they want to install. Installing 'ADCIDE Data' is required. Installing 'ADCI Log Viewer' and 'ADCI Sample/Curve Examples' components is strongly recommended, but they are optional.
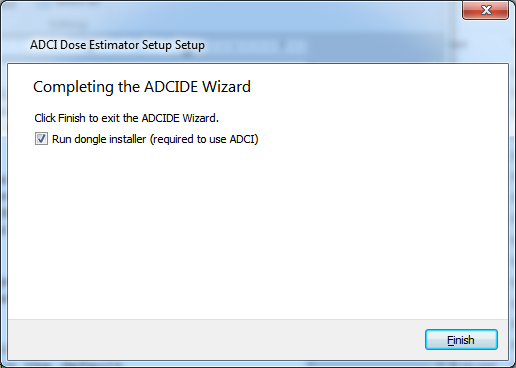
Additional components related to the dongle security key must be installed on your system if they have not been previously. This step is unnecessary if you are updating to a new version of ADCI and the dongle has previously interacted successfully with ADCI on your system. If you are unsure how to proceed, dongle components can safely be reinstalled. To install the dongle components, ensure a checkmark is present beside 'Run dongle installer' (it is checked by default) and click 'Finish'.
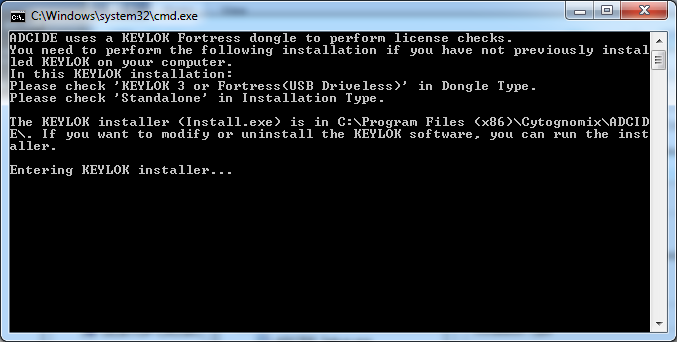
If 'Run dongle installer' was selected in the previous step, a command line window (black screen) will appear containing instructions regarding how to proceed through the dongle component installation. This command line window may be closed after the dongle component has been installed.
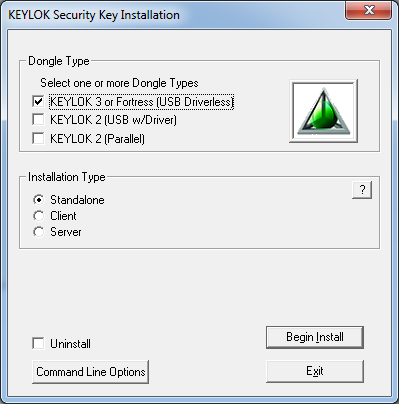
Place a checkmark beside 'KEYLOK 3 or Fortress (USB Driverless)', ensure 'Standalone' is selected within 'Installation Type', and click 'Begin Install' to finish the installation. At various times during the dongle installation, the installer will notify you that you may plug in your dongle at any time. The dongle can be plugged in or not, its presence has no effect on the installation.
After installation, ADCI.exe can be found in the installation folder and in the Start menu if a Start menu shortcut was set during installation.
Uninstalling ADCI
To uninstall ADCI, open 'Control Panel/Programs and Features'. Right click 'ADCIDE' and select 'uninstall'. Follow the wizard to remove ADCI from your computer.
Uninstalling will completely remove the installation folder. In the data folder, uninstalling will only remove files and folder that are installed by the installation, i.e. example samples and curves. Files and folders created by users through ADCI will NOT be removed. If users desire to remove them, users can delete them as regular files in the operating system after uninstalling ADCI.
In the page 'Setup ADCIDE', select 'Remove all components'.
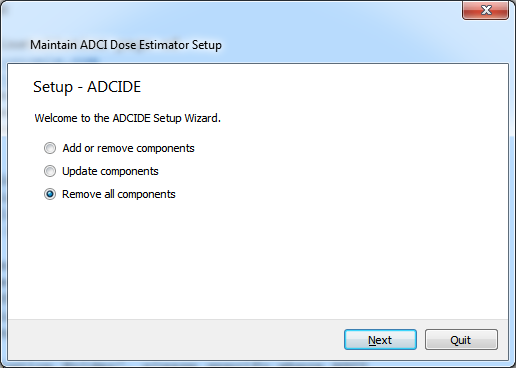
After ADCI is uninstalled successfully, the installation folder and the Start menu shortcut will be removed.
